


The Ribbon and Bow Border comes in three different colors: Red, Green and Blue. You can choose the background colour for this design. The Ribbon & Bow Border Kit is also charted. This Kit does not have the design printed on the canvas.
For help determining how many border kits you will need to complete your carpet, view our carpet layout guide here.
The Starter Kit includes full instructions, joining example, four pieces of plain 10 holes to the inch canvas, a chart card for the 4 corners and side sections, Elizabeth Bradley Wool and needles. Each corner piece should measure 136 x 136 stitches. These dimensions need to be exact before commencing to join. This kit contains the joining wool for 1 x 16” design.
The Side Section Kit include a piece of plain 10 holes to the inch canvas, Elizabeth Bradley wool and needles. - there is also sufficient wool to join the sections. Each side section should measure 164 x 52 stitches. Joining wool is supplied for completing carpets up to a 6 panel with the purchase of the correct number of side sections (additional joining wool will be required to complete any larger carpets). Initial purchase of the Four Corners Starter kit is required as this contains the chart card and instructions.
If you would like an alternative background colour please contact our customer service team.
How to Diamond Paint?
If you're new to diamond painting, you've come to the perfect place! Below are step by step directions on how to get started. Anyone can do it; it's incredibly simple!

Step 1
Refer to the comparison table on the canvas to identify each diamond number and the corresponding printed number on the canvas.
Step 2
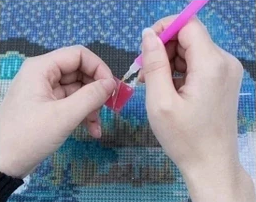
Insert the round end of the dotting pen into the dotting cement (push hard to keep the cement in place).

Step 3
Use the round end of the pen to stick a diamond and slightly press down to remove any extra cement.

Step 4
Tear apart the partial film and place the diamond on the canvas according to the corresponding number.

Step 5
If you stick a diamond to a wrong area on the painting, remove the diamond with tweezers.

Step 6
After finishing, slightly press down the diamonds with your hand or a book to ensure that the diamonds are firmly attached.
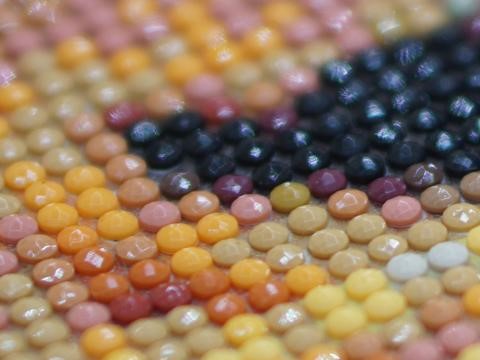
AB is short for Aurora Borealis. This refers to the solid colour diamond drills with a beautiful Aurora Borealis rainbow coat that gives it an opalescent shine on the surface. The appearance can differ, it can be a shiny soft pearl-like coating to a strong dual-colour reflection. They are used to highlight parts of the diamond painting pattern adding dazzling and mesmerizing effects to the art, just like the northern light it got its name from

This is the comparison of the regular diamonds & Aurora Borealis:

This picture is showing AB drills included in a diamond painting to give a better effect:

Do I choose Round or Square shaped diamonds/drills?
If you have just begun to embark in this new hobby of Diamond Painting, you might be wondering what shape of diamonds to use on your very first work of art. Well, there is really no wrong way! To help you make your decision, we've prepared this short guide. Let’s take a quick look at their difference.
Round Diamond Drills
Round diamonds, especially on larger sizes, have a more sparkly appearance similar to glitter. They are generally preferred by beginners because they are easier to put on the canvas without needing to have straight lines - the exact placement of the pieces is a lot more forgiving without needing too much adjustment. This shape works better on larger sized artworks because it is generally faster to place. Since they have no corners, round diamonds can create some visible gaps in the picture. These are most visible for smaller size canvases. However, from a distance, the gaps are compensated by the colour of the background and become unnoticeable.
Square Diamond Drills

Square drills create sharp lines and clean picture since they fit together very nicely with no gaps. Though it requires some skill to line up the square diamonds perfectly, the finished artwork can be incredibly rewarding. Experienced veterans with a steady hand may opt for this shape to bring a bit of challenge to their craft. Square diamonds may be preferred when creating smaller canvases due to the longer time taken and no gaps between the pieces, but is still a suitable choice up to medium-large size artworks. Many fans of Square drills also find pleasure on how the pieces create a satisfying “snap” sound when they fit into place.

You May Also Like


28 Grids Plastic Storage Boxes

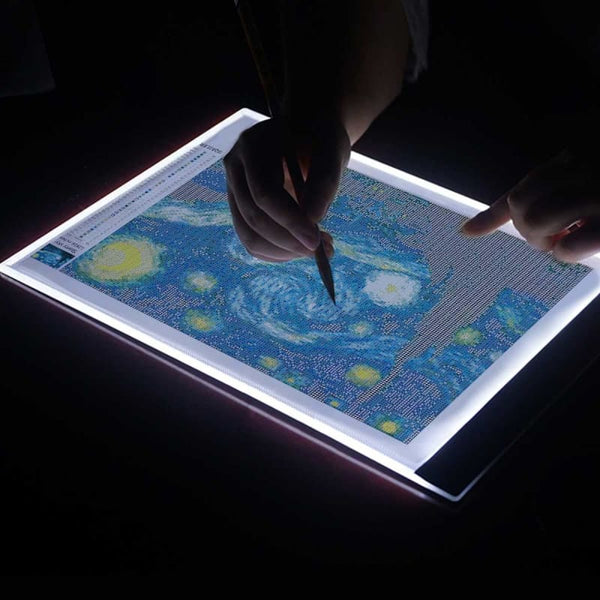
A4 Light Pad

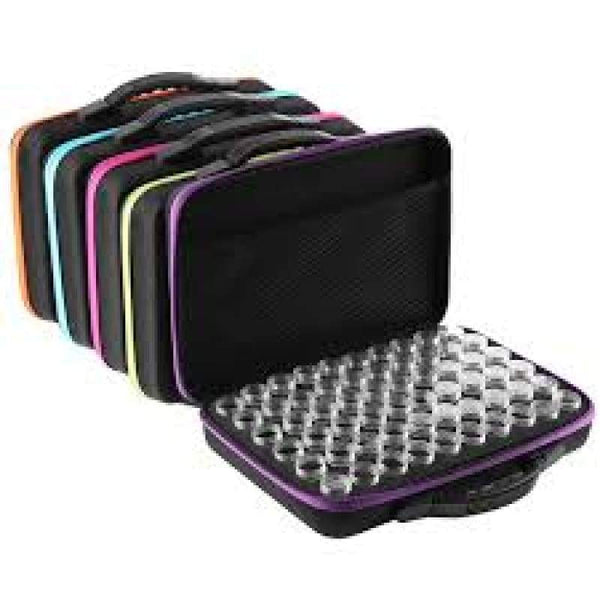
Storage Bag with 60 Bottles


Straight Roller

6 Multi-Placer Pen


10 Multi-Placer Pen


Round Drill Ruler


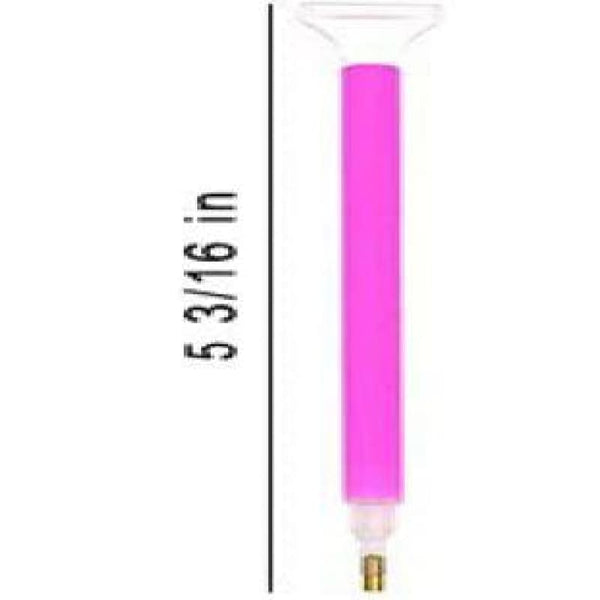
Pink Correction Pen


Straight Drill Ruler


Big Orange Tray


7 Multi-Placer Pen


Glue or Wax Diamond Painting


Pen Grip


Scraper


Big Blue Tray


Stand

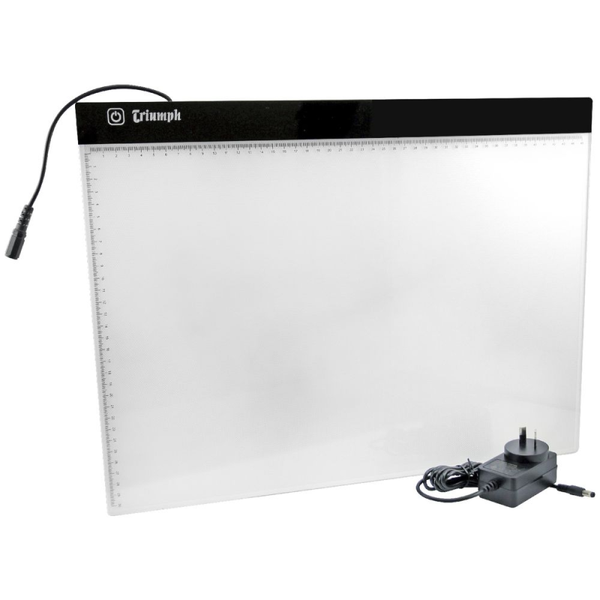
A3 Light Pad


Wheel Tool


Big White Tray


Mermaid Point Drill Pen


Large storage box with 64 small transparent boxes


White Correction Pen


Metal Angled Tweezers


Big White Tray

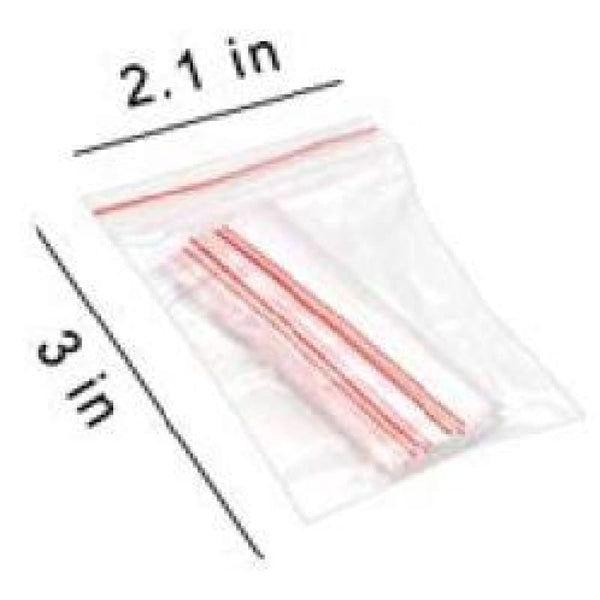
Small Zip Bags (Pack Of 10)


9 Multi-Placer Pen


X-Large storage box with 64 small transparent boxes


Tool Bag


Small Green Tray


Metal Right-Angled Tweezers
- Choosing a selection results in a full page refresh.